In order to help you make informed decisions we have put together a small visual guide to the anatomy of our doors. At times when specific design elements are being discussed it can become necessary to familiarize one's self with the components and construction of our doors. We have explanations of things all over this website, but we acknowledge that sometimes it's best to just see how things are done!
.png)
Above is an unassembled shaker style door that utilizes the 5-piece panel-in-frame construction method. You can see from the picture above what we mean by "5-piece construction" as there are four frame pieces and one panel, and also what we mean by the "panel-in-frame construction" as this door will eventually be permanently assembled so that the panel is contained securely within the four frame pieces.
To the left and right side of the door panel we have "Stiles" which run vertically from the very top to the very bottom. Above and below the panel we have Rails which do not run the full width of the door but rather are made to fit within the left and right Stiles using tongue and groove construction. Within the frame we have the panel.
This is a 400 Series or "Shaker" style door and is specifically Style #400 within the 400 Series. This door is destined to be painted, and so we have chosen to construct the solid wood frame with Poplar and the panel with 1/4" MDF (Medium Density Fiberboard.) Poplar is one of our two options for paint grade solid wood material (the other being maple.) Poplar machines well and is less likely to tear out and create imperfections, it is also one of the more stable wood choices as it resists warping (twisting, bowing, and cupping.) MDF was chosen for paint grade doors also because of it's stability and its fantastic machining quality. It also takes paint smoothly and evenly.
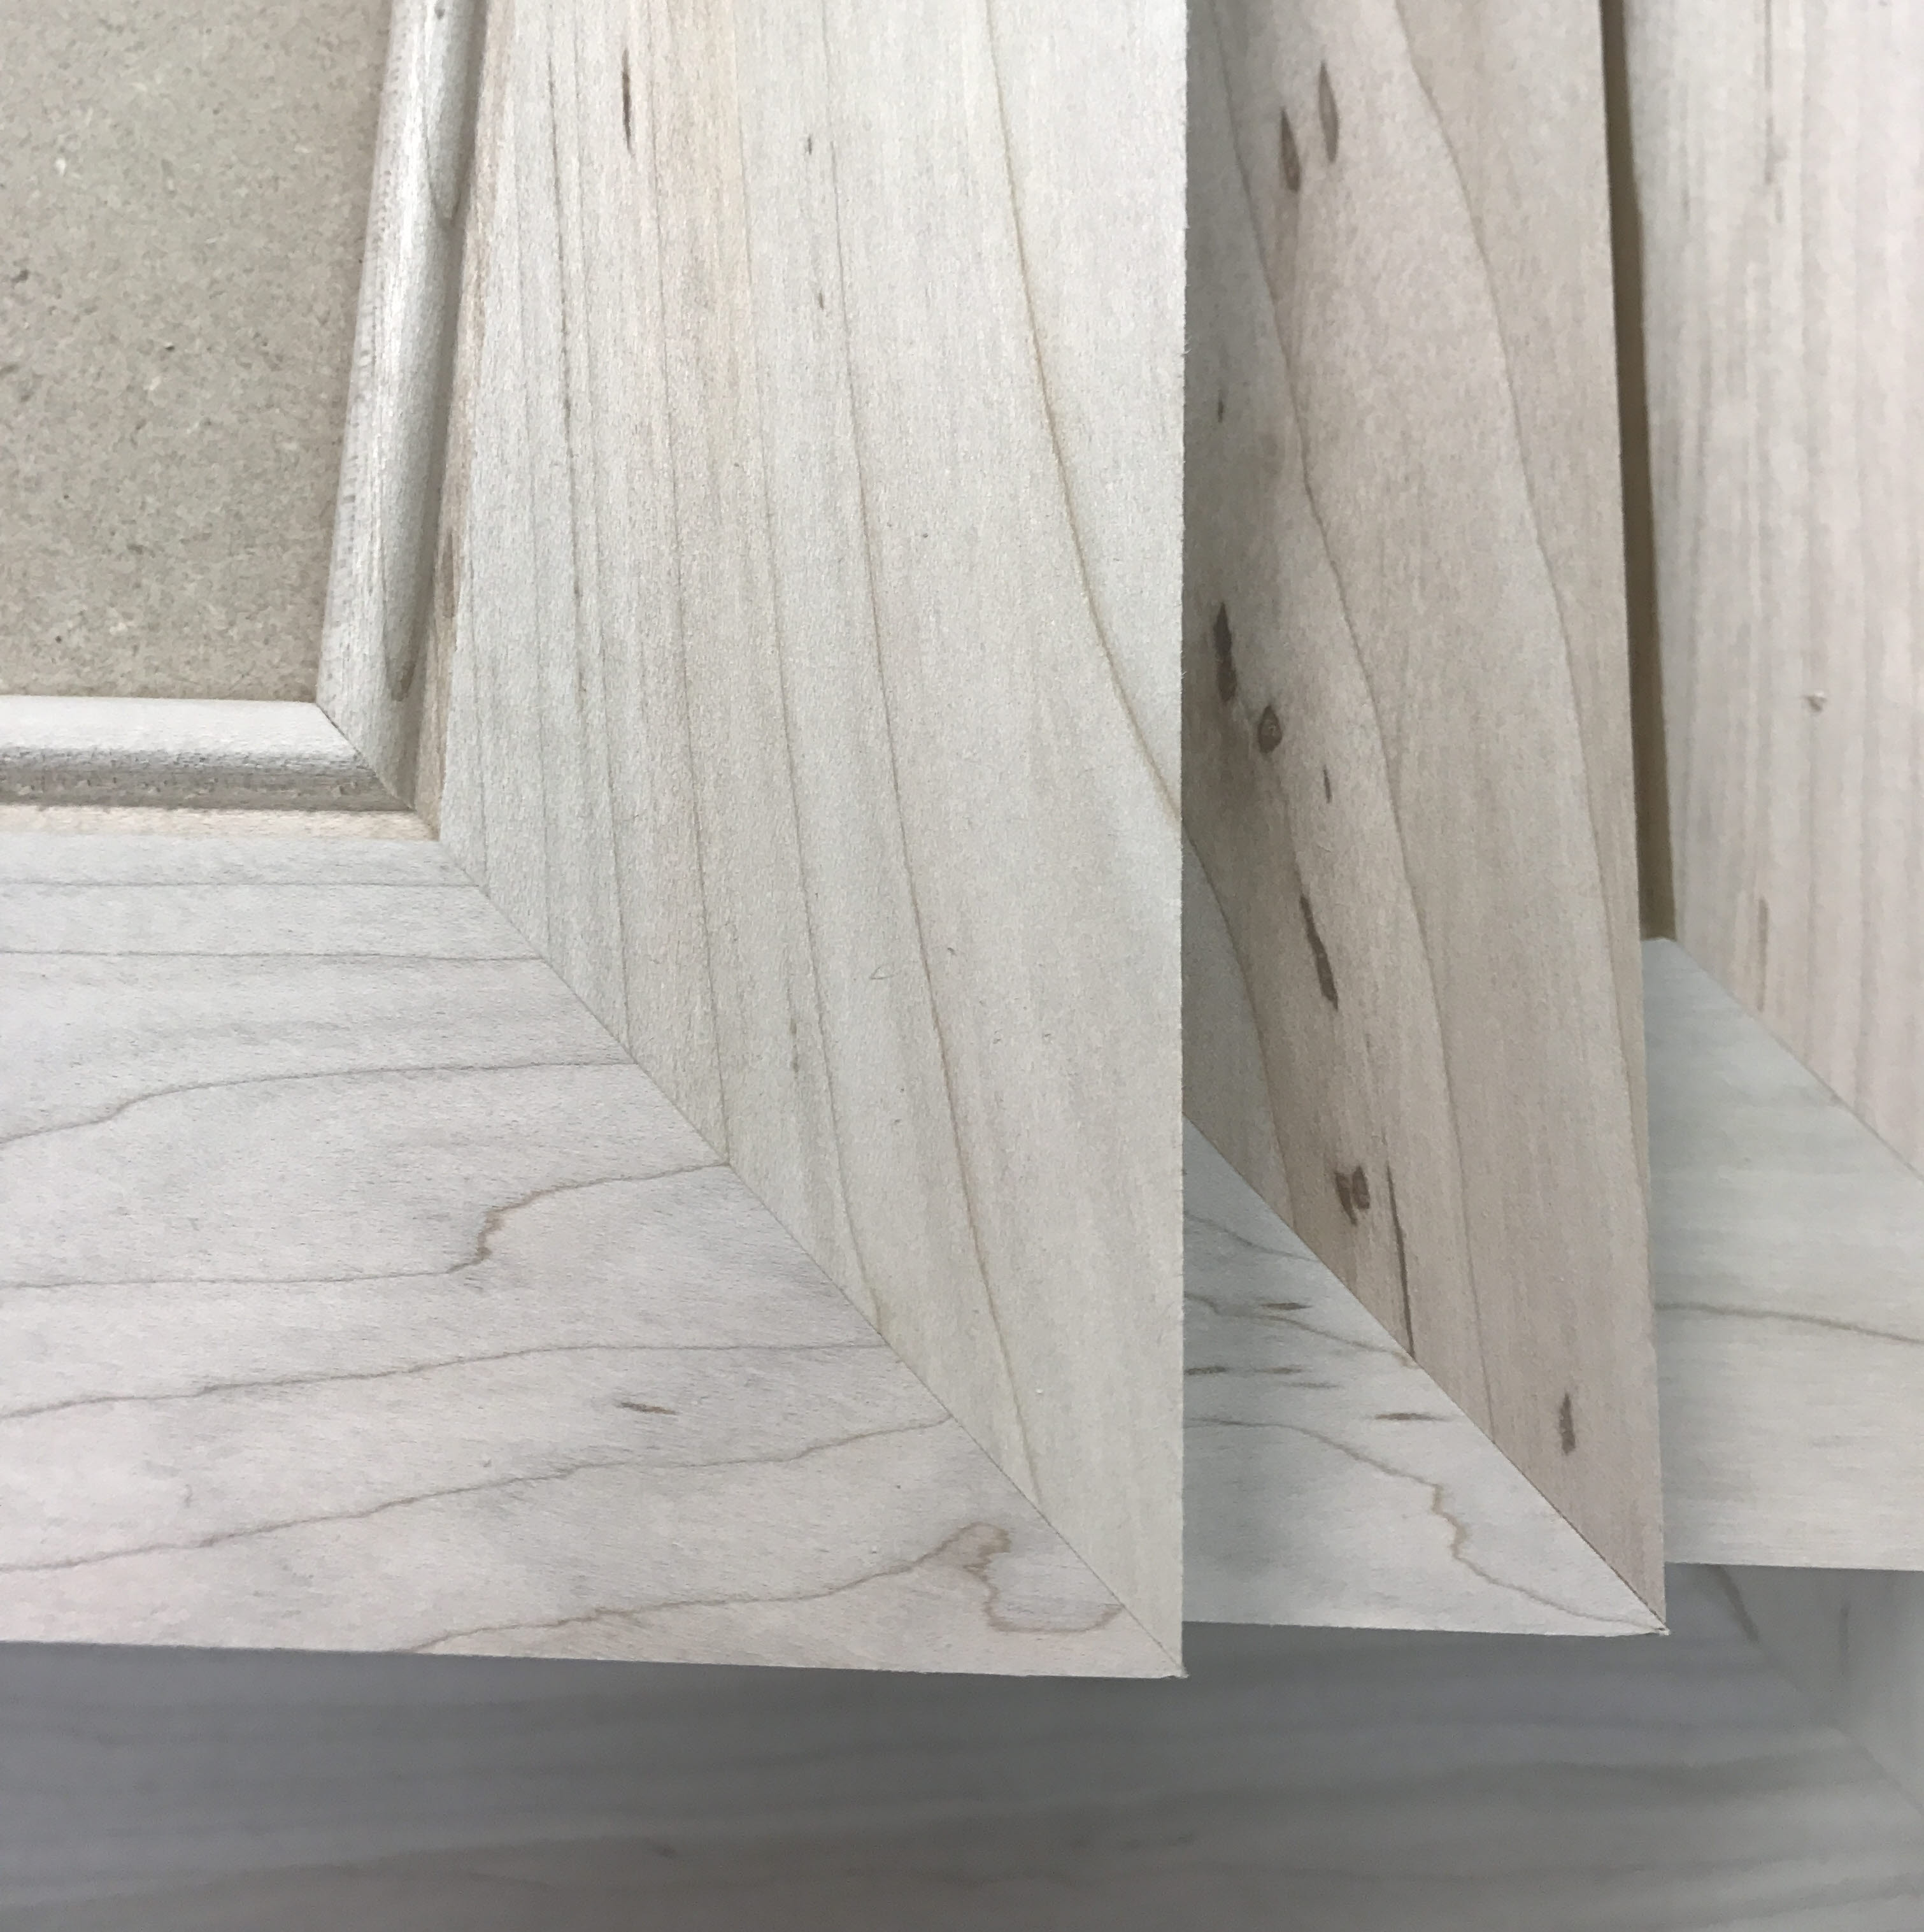
Note: Some doors are made with mitered corners (below (not #400 doors)) or with one or several center rails or center stiles (not pictured.)


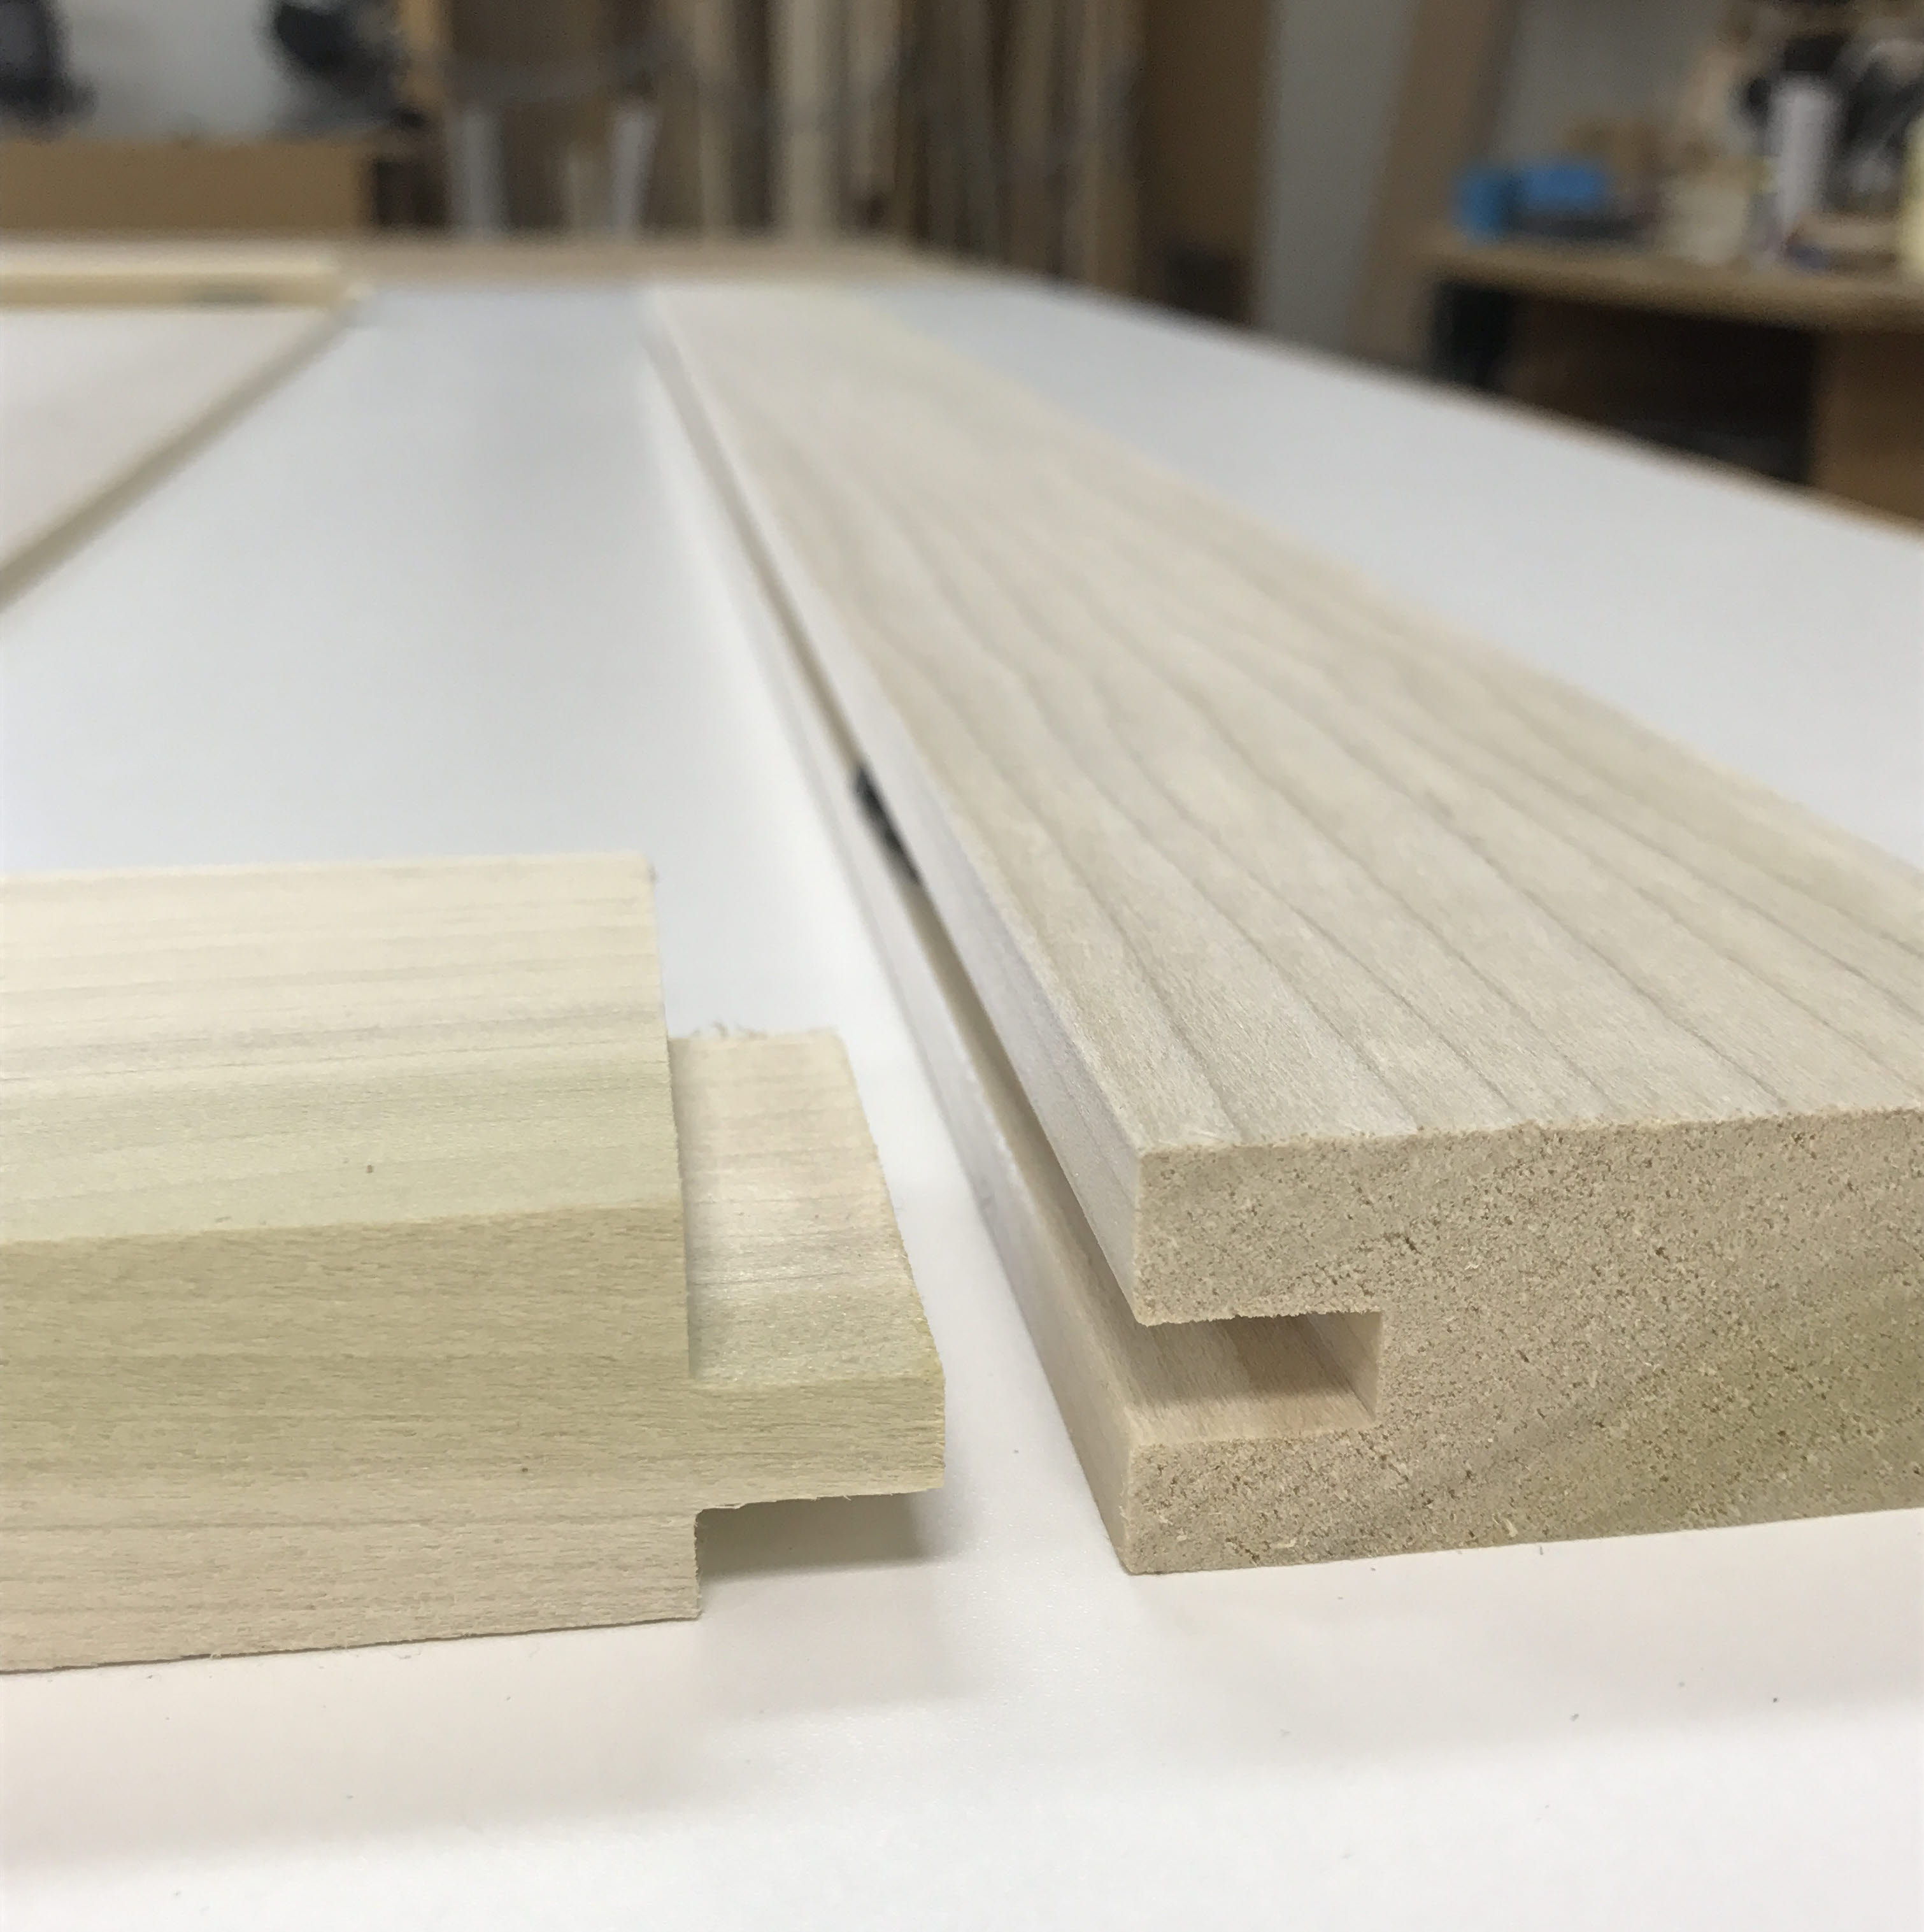
Let's take a closer look! Here we see the future joint between the bottom rail (left) and right stile (right.) This style of door has tongue and groove construction. Scherr's builds all of its panel-in-frame style doors with some form of interlocking 'cope and stick', and in this case 'tongue and groove', joinery. We use NO metal fasteners in our door frames, not only for style and tradition, but also for structural reasons. No matter how dry your wood material is, there is some moisture that will slowly rust through and corrode any metal fasteners. Joints made with metal fasteners will loosen over time and create opportunities for structural failure. As soon as a joint becomes loose in any type of furniture, it's condition and structural integrity will begin worsening rapidly. Unfortunately, so many cabinet door manufacturers today are carelessly cutting corners in order to make an 'affordable' product that sells well. Many utilize small pins or staples through the back of their doors at the joints in lieu of traditional all wood and glue joinery, which takes a considerable amount of experience and time to do correctly and is a vastly superior product.

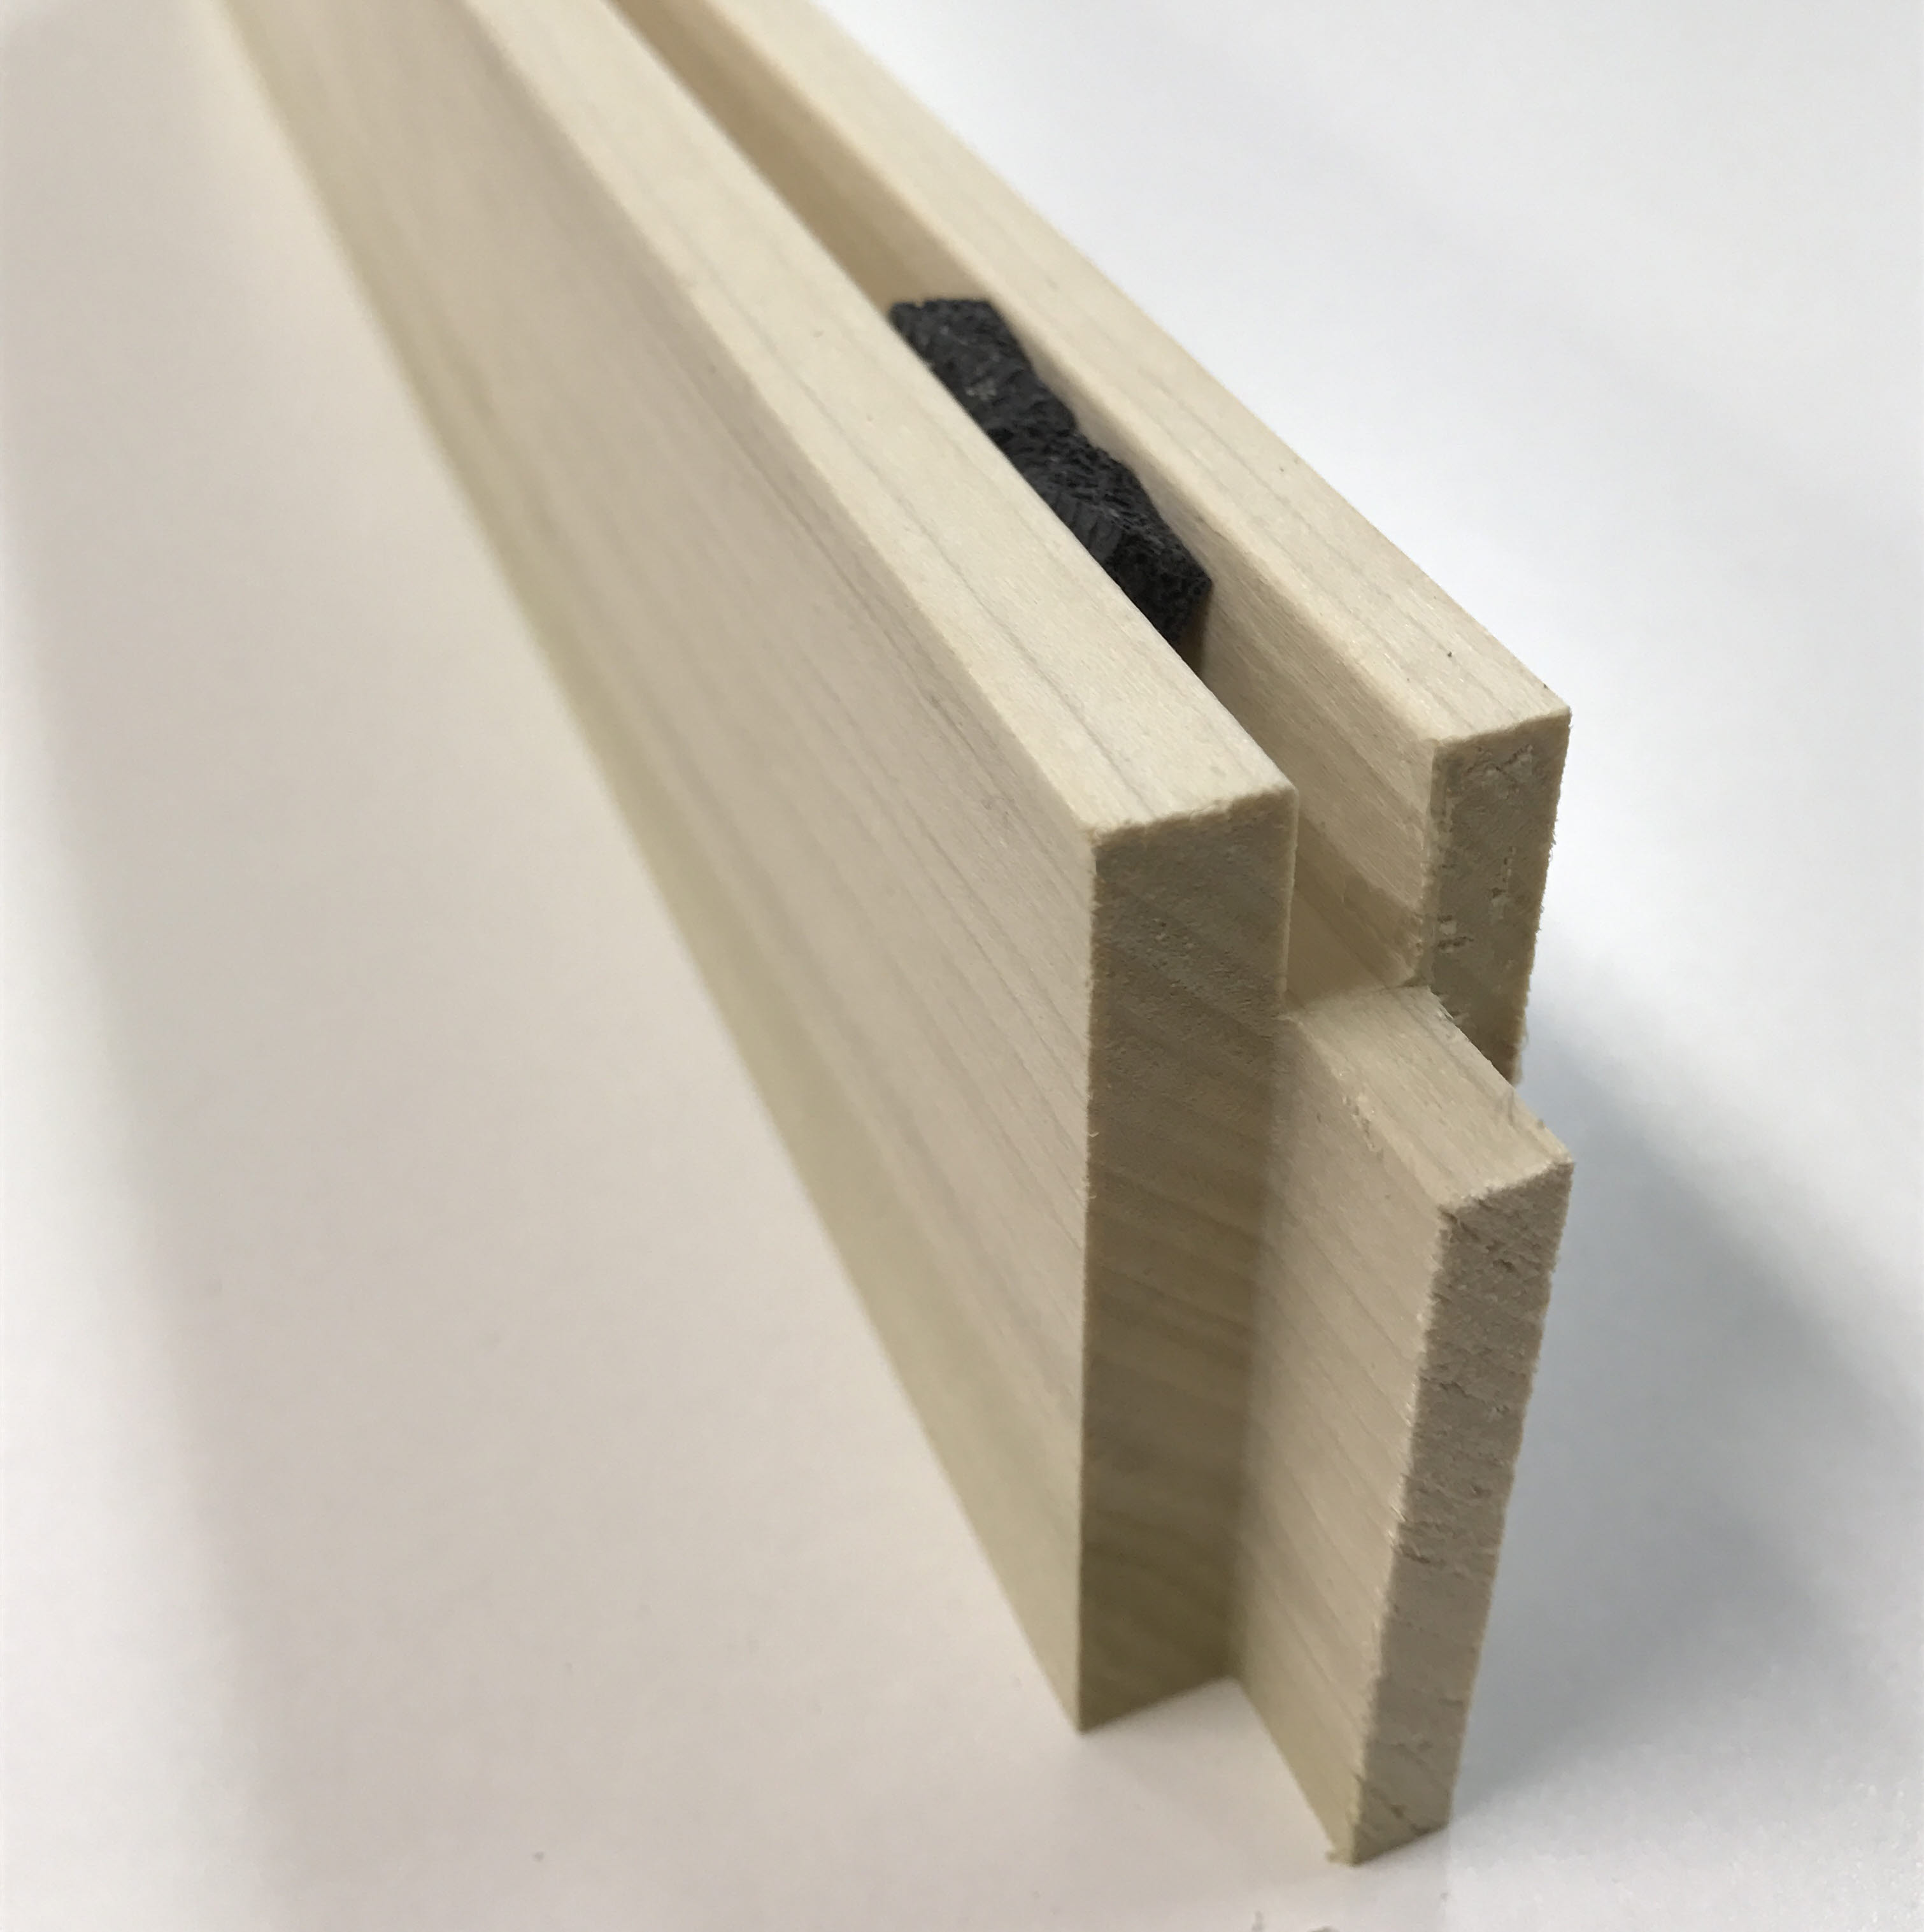
Here you can really get a clear look at how even the famously simple "shaker" style can become quite complex at the intersection of three components (stile, rail, and panel.) The groove that the panel rests inside of must be maintained uniformly as the frame transitions from rail to stile, therefore the joint must inverse, but only partially at its intersection with the stile. Rubberized foam pieces are inserted in the panel groove to ensure that the door panel remains snug inside of the frame over time and minimizes rattling during use. Keep in mind: Each stile and rail is cut and machined from a single piece of hardwood, they are not particleboard or fiberboard compressed in a mold, they are not multiple layers glued together to avoid the time and expertise necessary to machine them properly, they are 100% solid wood. We stand by our craft and the skill of our workers who have been with us for decades.
Once the door components have been individually cut and machined they are ready for assembly. Shaker doors and drawer fronts are assembled with wood glue at their joints only. No wood glue should be used to attach the panel to any part of the frame. If you look closely at the pictures above you can see a few pieces of rubberized foam wedged into the mortise of the stiles and rails, these hold the panel snug inside the frame after assembly and remain there, hidden.
Doors must be clamped together perfectly square, either in a door clamping machine designed for that purpose or with individual clamps at each joint. Sometimes doors or panels are too large, too complicated, or contain angles that don't allow them to be put in a normal clamping machine--this is where experience and careful planning pay off. With manual assembly, once glue is applied to the joints of the door and clamps begin to exert their pressure, a person has less than five minutes to readjust the pressure on each clamp to set the door perfectly square and to line up their frame members with one another. Sometimes this can be a challenging task, even for some of our best carpenters who've been assembling doors day-in and day-out for decades, carpenters that have assembled several hundred thousand doors over their years working at Scherr's.
Once the door has been assembled and the glue has dried they are sanded perfectly flat on their backs and faces. After that they are taken to our CNC machine and made perfectly square down to a thousandth of an inch. The same CNC machine is then used to create bore holes for door hinges and drawer slide hardware. From there they go on to profiling, detail sanding, and finishing.
Some door styles require a different process altogether, but this is a summary of how our classic Shaker door is built!
.png)


.png)


